Teacher Guide
This guide will help you get the most out of ClassCards as a teacher. Learn how to create student accounts, build vocabulary decks, and monitor your students' progress.
Getting Started
Creating Your Account
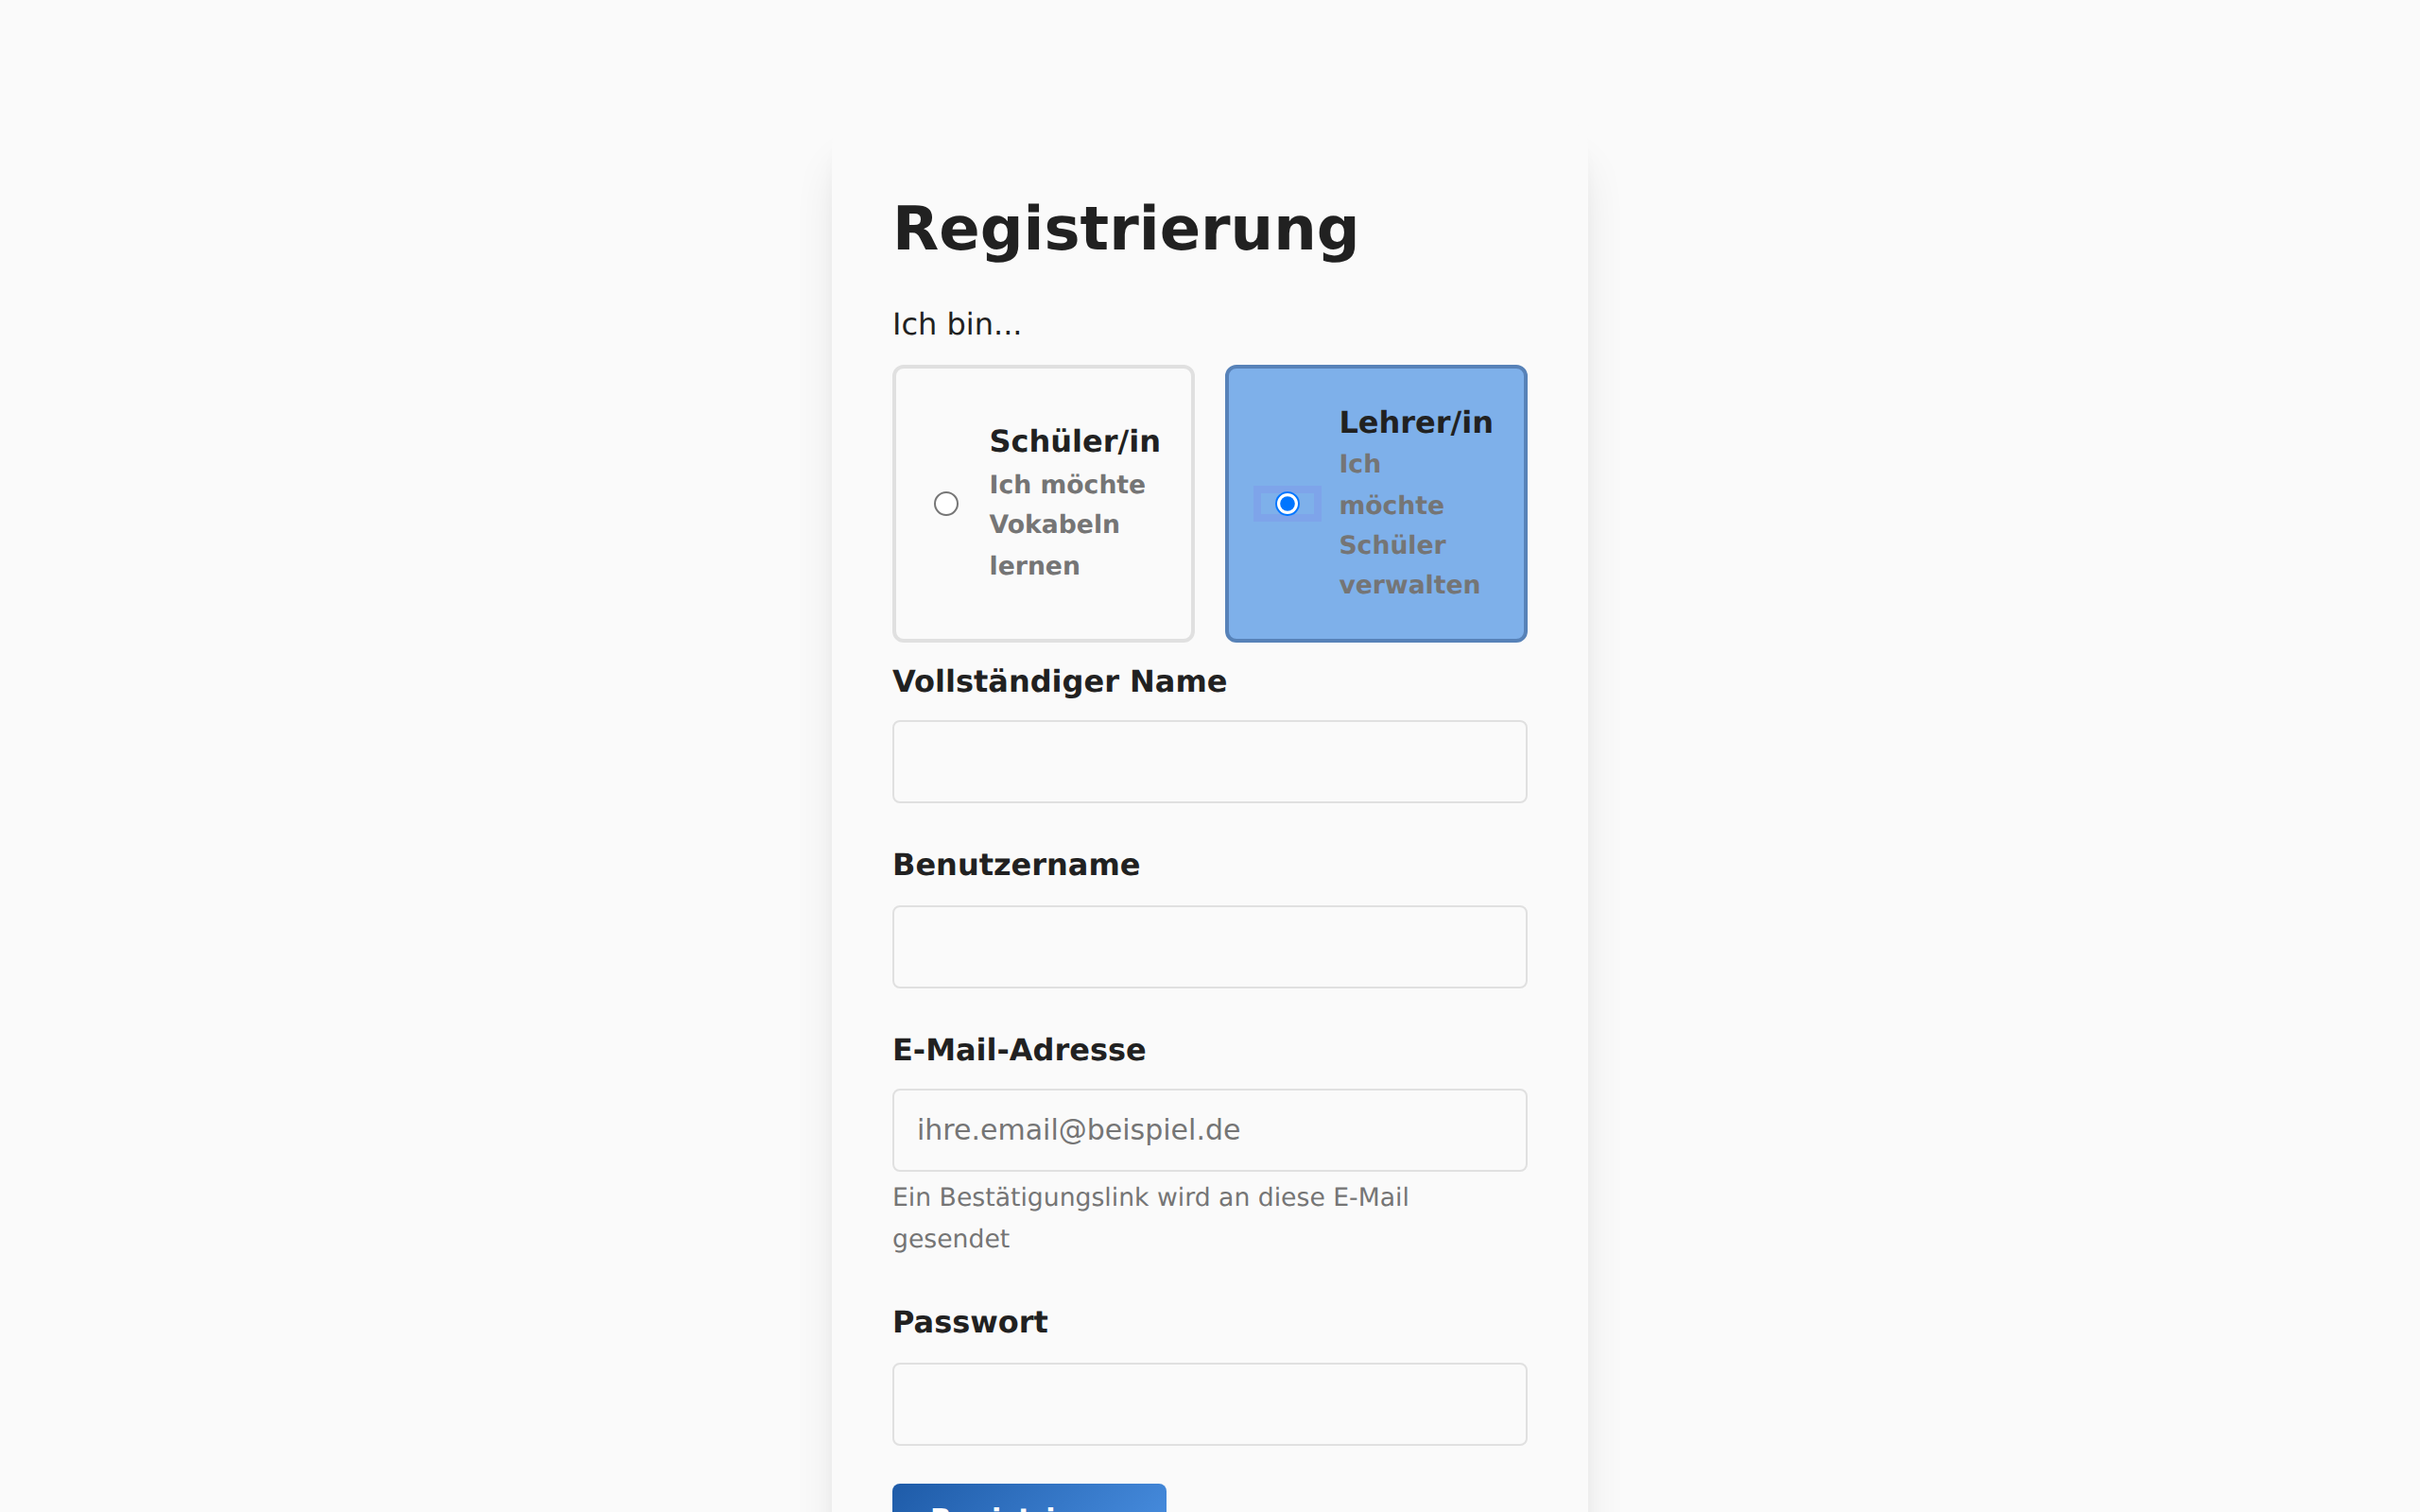
- Go to the ClassCards homepage and click "Register"
- Select "Teacher" as your role
- Fill in your name, email, and create a password
- Check your email for a verification link
- Click the link to activate your account
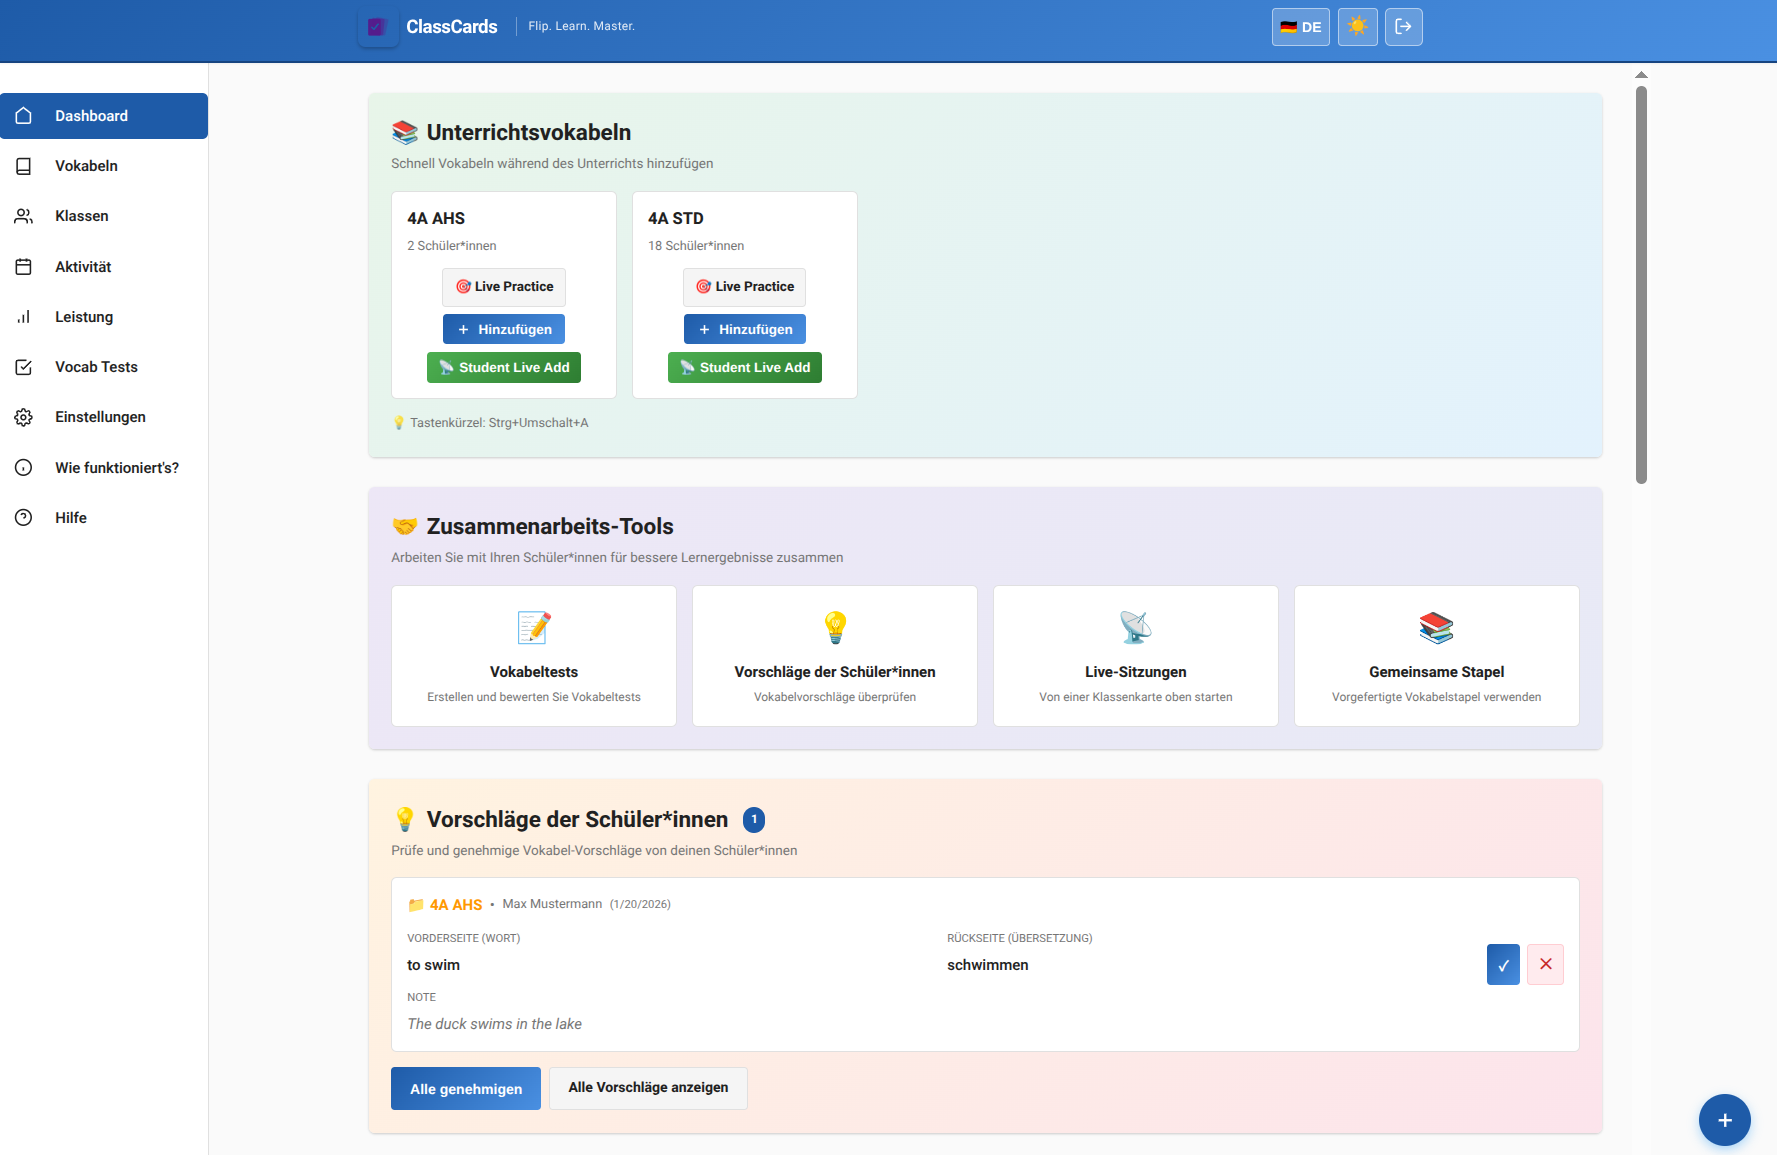
Dashboard Overview
Your dashboard is your command center. Here you can see:
- Quick statistics (students, decks, cards, classes)
- Quick actions to create decks and manage students
- Recent activity from your classes
Managing Students
Creating Student Accounts
You can create accounts for your students in two ways:
Method 1: Quick Create
- Go to "Students" in the sidebar
- Use the "Quick Create Student" form
- Enter the student's name
- Username and password are auto-generated
- Click "Create Student"
Method 2: CSV Import
- Prepare a CSV file with student names
- Go to "Students" → "Import Students"
- Upload your CSV file
- Review the preview and confirm
Organizing into Classes
Classes help you organize students and assign decks to groups:
- Go to "Classes" in the sidebar
- Click "Create New Class"
- Enter a name (e.g., "English 7A")
- Add students by selecting from your student list
Creating Vocabulary Decks
Manual Card Creation
- Go to "Decks" in the sidebar
- Click "Create New Deck"
- Enter a deck name and description
- Click "Add Card" to add vocabulary
- Enter the front (word), back (translation), and optional example sentence
CSV Import
For larger decks, import from a CSV file:
front;back;sentence
apple;Apfel;The apple is red.
house;Haus;I live in a house.
- Prepare your CSV with semicolon separators
- Go to your deck and click "Import Cards"
- Upload the CSV and review the preview
- Confirm the import
Using Ready-Made Decks
Save time with our pre-built vocabulary decks:
- Go to "Ready-Made Decks" in the sidebar
- Browse by CEFR level (A1-C2) or textbook
- Click "Copy to My Decks" on any deck you want
- The deck is now yours to edit and assign
Assigning Decks
Assign to Individual Students
- Open the deck you want to assign
- Click "Assign to Students"
- Select the students from the list
- Click "Assign"
Assign to Entire Class
- Open the deck you want to assign
- Click "Assign to Class"
- Select one or more classes
- All students in those classes will receive the deck
Tip:
You can unassign decks anytime. Student progress is preserved even after unassigning.
Tracking Progress
Deck Performance
See how students are doing with each deck:
- Cards studied vs total cards
- Average accuracy per student
- Time spent practicing
- Last activity date
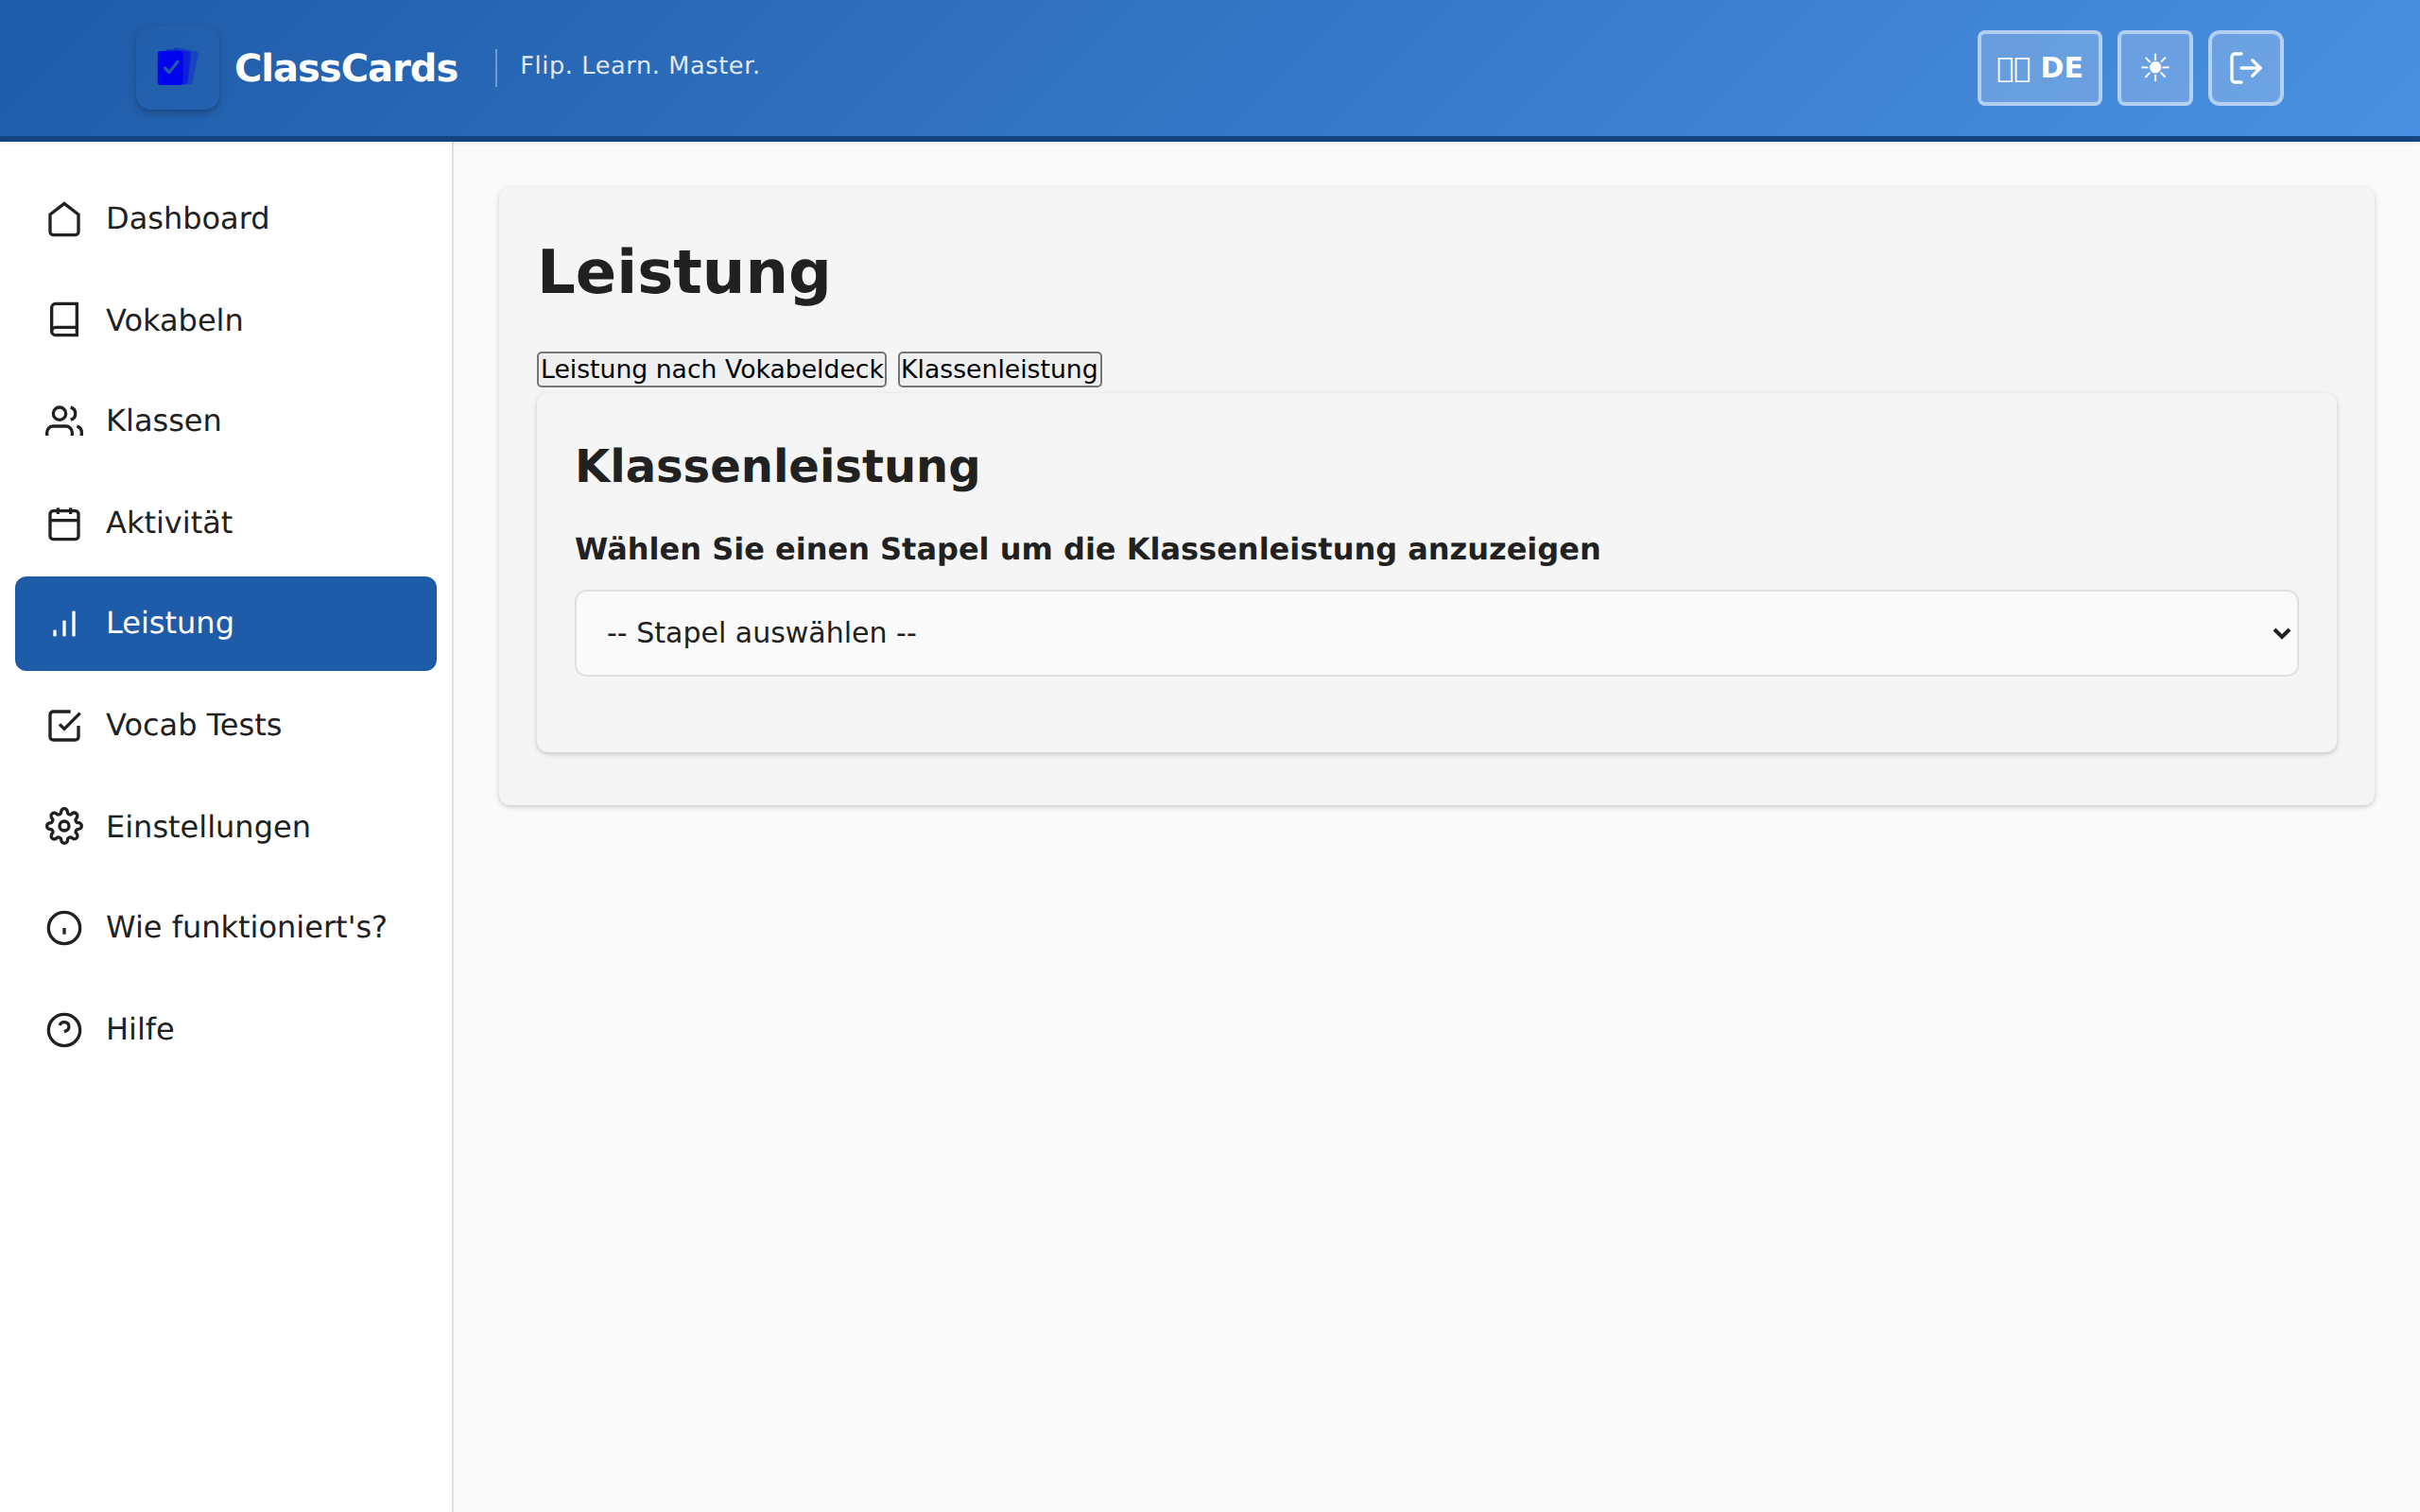
Class Performance
Get an overview of your entire class:
- See which students are active
- Identify struggling students who need help
- Compare progress across students